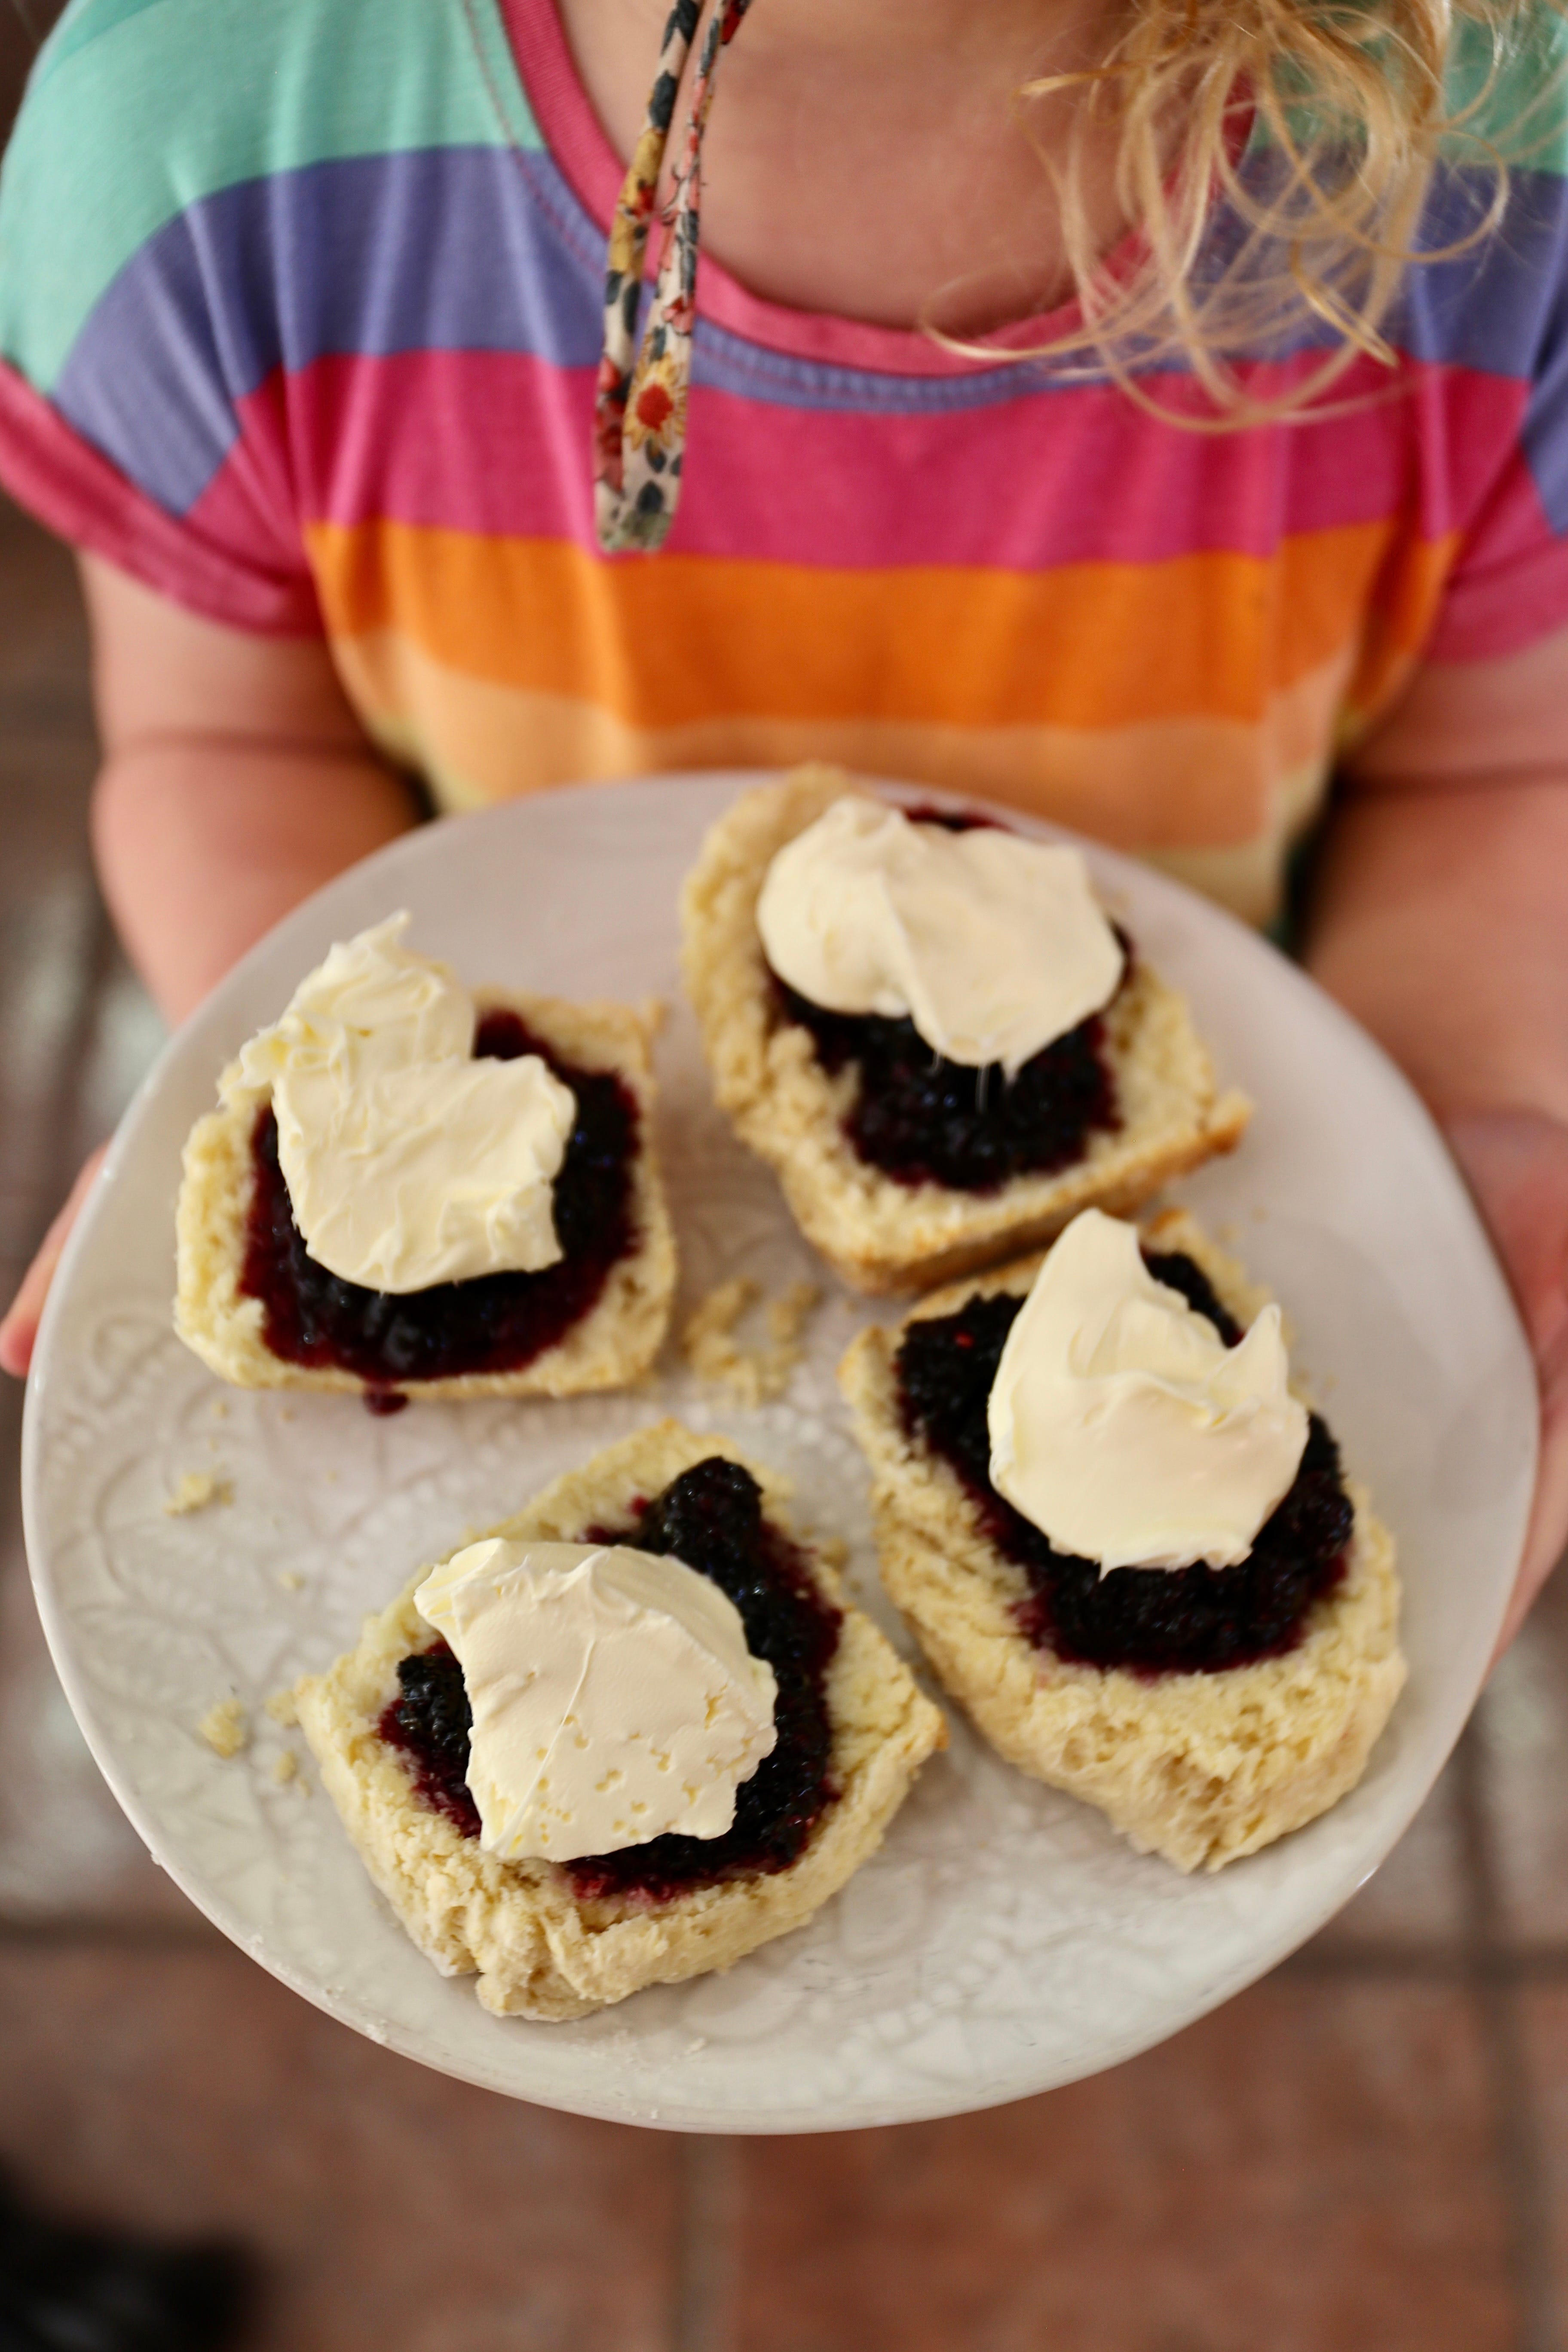
Scones:
I tweaked a recipe I’ve been using for a while because they just weren’t coming out as fluffy as I wanted them too and I have this big thing about mile high, cloud-like scones for when I was a little girl I rode dressage for an Equestrian Centre and there I was fed, every Sunday, with hands down THE BEST scones that have ever been baked.
My instructor was the daughter of two wonderful humans who took all us kids under their wings. Mr T, as we called him, the gentle giant of a dad and his tiny spitfire wife, Joycee Harper. Joycee Harper’s scones have never, not in the entire rest of my life, ever met their equal and I have eaten scones everywhere!!! From CWA stands to the most famous High Tea in the world at the Palm Court of The Ritz in London. None have even come close. I wish so much now that 9 year old me would’ve thought to have asked Joycee for the recipe but alas, I was horse mad, not baking mad and instead it has begun a life long pursuit for the best scone recipe. This is not it (as it is not Joyce’s recipe) but I share the one I use as requested and I promised I would, then promptly forgot. So, here it is……I welcome you to share your best scone recipe in comments:
Ingredients
2 3/4 cups of Self-Raising Flour
1/4 cup of Plain Flour
80G of Full Fat Salted Butter (cold and hard, cut into cubes)
1tsp Baking Powder
1 1/4 cup of Full Cream Milk
Method
Preheat oven to 200C
Put both flours and baking powder in a sifter and sift into a large bowl. Get the butter out of the fridge at the last minute, cut it into small cubes and then using your fingers, rub the flour mixture in your fingers as quickly as you can until it forms a fine breadcrumb like mixture.
Make a well in the centre and pour in half the cold milk and with your hands or a palette knife or spatula, start to slowly bring together, adding the rest of the milk as you need to. Form a dough in the bowl, not to overworked and tip it out onto a floured surface. Press gently into a rectangle 1.5-2cm in height and with the palette knife cut into squares.
I know some folks like round scones but Joycee’s were always about 8-10cm high perfect cubes, like dinner rolls. So, thats what I stick too but you can cut circles if that appeals to your aesthetic more.
Cover baking tray with baking paper or dust with a bit of plain flour and lay the scones on top, about a centimetre apart, sprinkle with a little extra plain flour. You can egg or milk wash if you want but I don’t, as I don’t want it to affect the rise if I’m too heavy handed which can sometimes happen if I’m making them in a rush (which is most of the time).
Bake for 20-25 minutes or until risen and golden brown.
Serve with Jam (see Mulberry Jam recipe below) and good quality cream or clotted cream. And enjoy with a cuppa somewhere you like to sit!
Mulberry Jam:
This recipe is one mum has been using that’s quite simple, after all, jam really isn’t a complex exercise in culinary skill, and once you’ve been doing it for a while it can become a little bit gung-ho in approach. All jam follows the same basic recipe and we adapted this to make bigger quantities, more jars, enough for us and family and friends, as we get endless amounts of fruit for months in summer from our very old and very crooked mulberry tree, even with giving a fair whack away to the birds. It feels like a such a privilege.
Also, if you’ve got tips and tricks or another great method for mulberry jam, leave it in comments, I’m all ears when it comes to hearing other people’s recipes:
Ingredients:
4 cups of mulberries
3 cups of caster sugar (or whatever you have on hand)
Rind and juice of one and a half lemons (this is the pectin component that helps jam set and I find is great to cut the sweetness a little too).
Method:
First, place a saucer in the fridge or freezer and leave to get cold, this will make sense later when you need to test the jam.
Add all of the ingredients into a large pot on the stove top, stir gently and leave alone unless you prefer all of the berries broken down until smoother (we don’t) and simmer until all of the sugar dissolves. Leave on a low boil for approximately 20 minutes until it begins to set. To check, if the jam is ready, get the saucer our of the fridge or freezer and put a small dollop of jam on the saucer. Leave for a moment to cool, cool enough you can run a line through it with your finger or whatever you want to use, and the line holds. This means your jam is set.
You do not want to add too much pectin (lemon in this case) which is your thickening agent, or over boil, otherwise your jam will stiffen too much and not be a nice consistency. On the other hand, if it isn’t thickening, you can always add more lemon juice or rind.
In sterilised jars pour the jam into them while hot, using a steel jam funnel is best and safest when dealing with boiling hot sticky jam. Put on the lids immediately.
Once cooled put on scones with good quality thickened or clotted cream, or hot buttered toast or on a hot day like the day that I write this or in need of a no-fuss dessert in a hurry, on top of vanilla ice cream.